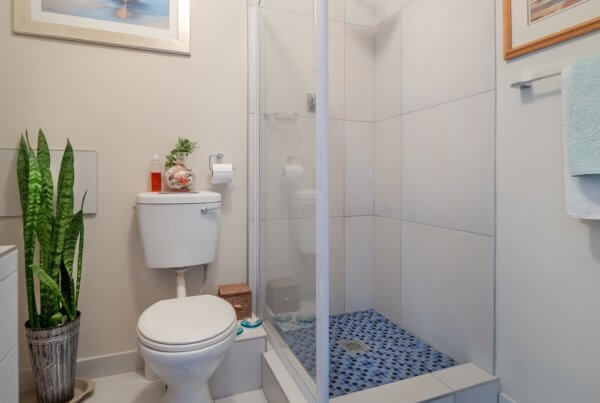

Bathrooms present unique challenges when it comes to painting. The high humidity, frequent temperature changes, and constant moisture exposure can quickly turn a beautiful paint job into a peeling, bubbling mess. However, with the right approach and techniques, you can achieve professional-looking results that will last for years. These four essential tips will help you accomplish a flawless bathroom paint job with confidence and create a space you’ll love.
Know What Paint To Use
The foundation of any successful bathroom painting project starts with selecting the right type of paint. Regular wall paint simply won’t cut it in a bathroom environment where moisture levels fluctuate constantly. Moisture-resistant paint, specifically designed for high-humidity areas, provides the durability and protection your bathroom walls need.
Semi-gloss and satin finishes work best in bathrooms because they resist moisture better than flat or matte finishes. These finishes also clean more easily, which becomes important when dealing with soap scum, toothpaste splatters, and other bathroom mishaps. When choosing paint for your bathroom remodel, look for products labeled as “bathroom paint” or “kitchen and bath paint,” as these formulations include mold-resistant additives.
Prepare by Cleaning the Walls
Proper wall preparation makes the difference between a paint job that lasts and one that fails within months. Start by washing all surfaces with a degreasing cleaner or a mixture of warm water and mild detergent.
Pay special attention to areas around the shower, bathtub, and sink where product buildup tends to be heaviest. After cleaning, allow the walls to dry completely before proceeding, as any remaining moisture can cause adhesion problems. Sand down any rough spots or previous paint drips to create a smooth surface for the new paint for a flawless, long-lasting finish.
Remove Fixtures If Possible
Taking the time to remove light fixtures, towel bars, and other hardware pays off in both appearance and efficiency. While it requires a bit more effort upfront, removing fixtures allows you to paint more quickly and achieve cleaner lines without the need for careful brushwork around obstacles.
You can remove most bathroom fixtures with basic tools like a screwdriver or drill. If you can’t remove certain fixtures, use painter’s tape and plastic sheeting to protect them from paint splatters. Painting your property regularly becomes much more manageable when you take time to properly prepare the space each time.
Paint Bathrooms in the Right Order
The sequence of your painting matters more than you might think. Following the right order prevents you from accidentally brushing against wet paint or creating streaks.
Begin by painting the trim and cabinets first, as it’s easier to tape off and touch up edges later. Next, move to the ceiling to prevent drips from landing on freshly painted surfaces below. Finally, paint the walls from top to bottom to ensure a clean, streak-free finish. Use a high-quality angled brush for edges and corners, then switch to a roller for larger areas.
Transform your bathroom into a fresh, clean space that reflects your personal style. With these proven tips for nailing a flawless bathroom paint job, you’ll achieve professional results that withstand daily use and moisture exposure for years to come.